
Here is a full guide on how to install phpIPAM on CentOS 7 with nginx as webserver and php8 support. This should work on all RHEL based distributuons. For this guide competely fresh install of CentOS 7 was used, step by step guide for all applications needed for phpIPAM to run will be covered.
The following assumptions were used:
- No software is installed on server (Nginx, MySQL, php)
- Database and nginx server will run on same machine
- phpipam will run in server root directory (will be accessible via http://ip_address/), no vhosts
- Only bare minimum configuration will be covered in guide
For phpIPAM to work following applications needs to be installed and configureed:
- Nginx webserver
- php version 8 with support for required modules for phpipam
- MySQL database
1.) Preparing environment and installing required apps
1.1) Set correct locale
To start let's set correct locales to be used on server, they are required also for translations. Add following to file /etc/environment for en_US coding, add your encoding if you will use different one:
[root@centos7 ~]# more /etc/environment
LC_ALL=en_US.utf-8
LANG=en_US.utf-8
1.2) Enable php8 (Installing EPEL and Remi repositories)
Enable EPEL (Extra Packages for Enterprise Linux and Remi repository - third-party repository for php versions):
sudo yum install -y https://dl.fedoraproject.org/pub/epel/epel-release-latest-7.noarch.rpm
sudo yum install -y https://rpms.remirepo.net/enterprise/remi-release-7.rpm
Enable remi php8 module:
yum -y install yum-utils
yum-config-manager --disable 'remi-php*'
yum-config-manager --enable remi-php80
1.3) Install Nginx, MySQL, PHP packages
Install all required packages for phpipam:
yum install nginx mariadb-server git php php-cli php-gd php-fpm php-common php-ldap php-pdo php-mysqlnd php-pear php-snmp php-xml php-mbstring php-mcrypt php-gmp
1.4) Configure and start php-fpm server
Set correct timezone to php.ini to avoid php warnings and other time-related features:
[root@centos7 html]# grep timezone /etc/php.ini
; Defines the default timezone used by the date functions
; http://php.net/date.timezone
date.timezone = Europe/Ljubljana
Start php-fpm service and enable starting at boot time:
systemctl start php-fpm
systemctl enable php-fpm
1.5) Configure and start nginx webserver
Create nginx config for phpipam:
cd /etc/nginx/conf.d
vi phpipam.conf
Enter following content to phpipam.conf:
server {
    # listen on 80 as default server
    listen       80;
    listen       [::]:80;
    server_name  _;

    # root directory
    root         /var/www/html;

    # logs
    access_log  /var/log/nginx/phpipam.access.log;
    error_log  /var/log/nginx/phpipam.error.log;

    # root location
    location / {
        try_files $uri $uri/ =404;
        index index.php;

        error_page 500 /app/error/index.php;
        error_page 404 /app/error/index.php;
        error_page 403 /app/error/index.php;
    }

    # php-fpm
    location ~ \.php$ {
        fastcgi_pass   127.0.0.1:9000;
        fastcgi_index  index.php;
        try_files      $uri $uri/ index.php = 404;
	fastcgi_param  SCRIPT_FILENAME $document_root$fastcgi_script_name;
        include        fastcgi_params;
    }
    # dont log this
    location ~* \.(js|css|png|jpg|jpeg|gif|ico)$ {
         expires max;
         log_not_found off;
    }
}
Now start nginx webserver, and also make sure it starts at boot:
sudo systemctl start nginx
sudo systemctl enable nginx
Firewall rule is also needed to pass http/https traffic to webserver from external interfaces if needed with following command:
sudo firewall-cmd --permanent --add-port=80/tcp
sudo firewall-cmd --permanent --add-port=443/tcp
sudo firewall-cmd --reload
1.4) Configure and start MySQL (MariaDB) database server
MariaDB has replaced MySQL server in CentOS 7, so we will use it. First start MariaDB server and make it start at boot time:sudo systemctl start mariadb sudo systemctl enable mariadbDefault options are ok, we just need to set root password, so issue folowing command and follow instructions to harden MariaDB server:
sudo mysql_secure_installation
2.) Download phpipam files and configure phpipam
We have configured database and webserver, it is time to install and configure phpipam.
2.1) Download phpipam installation files via git
For the purpose of this guide we will use git to fetch files directly from Github repository. This is preferred and easiest way to setup and maintain phpipam. For other options please read Download guide.
[root@centos7 ~]# cd /var/www/html/
[root@centos7 html]# git clone https://github.com/phpipam/phpipam.git .
Cloning into '.'...
remote: Enumerating objects: 28434, done.
remote: Counting objects: 100% (798/798), done.
remote: Compressing objects: 100% (313/313), done.
remote: Total 28434 (delta 494), reused 751 (delta 474), pack-reused 27636
Receiving objects: 100% (28434/28434), 20.89 MiB | 2.58 MiB/s, done.
Resolving deltas: 100% (20776/20776), done.
[root@centos7 html]# git checkout -b 1.8 origin/1.8
[root@centos7 html]#
phpipam code is now downloaded in
/var/www/html, which is our document root. To use development version leave out the "git checkout -b 1.8 origin/1.8" command, this will use current MASTER version. If you already checked version 1.8 you can switch to development with "git checkout master".
Also make sure upload folders are accessible for xls/csv imports:
sudo chown nginx:nginx -R /var/www/html/
sudo chcon -R -t httpd_sys_content_t /var/www/html/

cd /var/www/html/
find . -type f -exec chmod 0644 {} \;
find . -type d -exec chmod 0755 {} \;

sudo chcon -t httpd_sys_rw_content_t app/admin/import-export/upload/ -R
sudo chcon -t httpd_sys_rw_content_t app/subnets/import-subnet/upload/ -R
sudo chcon -t httpd_sys_rw_content_t css/images/logo/ -R
2.2) Configure database connection
Next we need to configure connection to database. To do it we first need to copy over sample config file to config.php that phpipam uses:
[root@centos7 html]# cp config.dist.php config.phpNow open config.php file and set settings for database connection. Do not use root user/pass, whatever you put here will be used for further connections to database and users from config.php will be automatically created.
BASE directive should be left at / because we will serve phpipam from default directory http://ip_address/. If you changed this adjust BASE directive accordingly.
3.) phpipam installation via gui
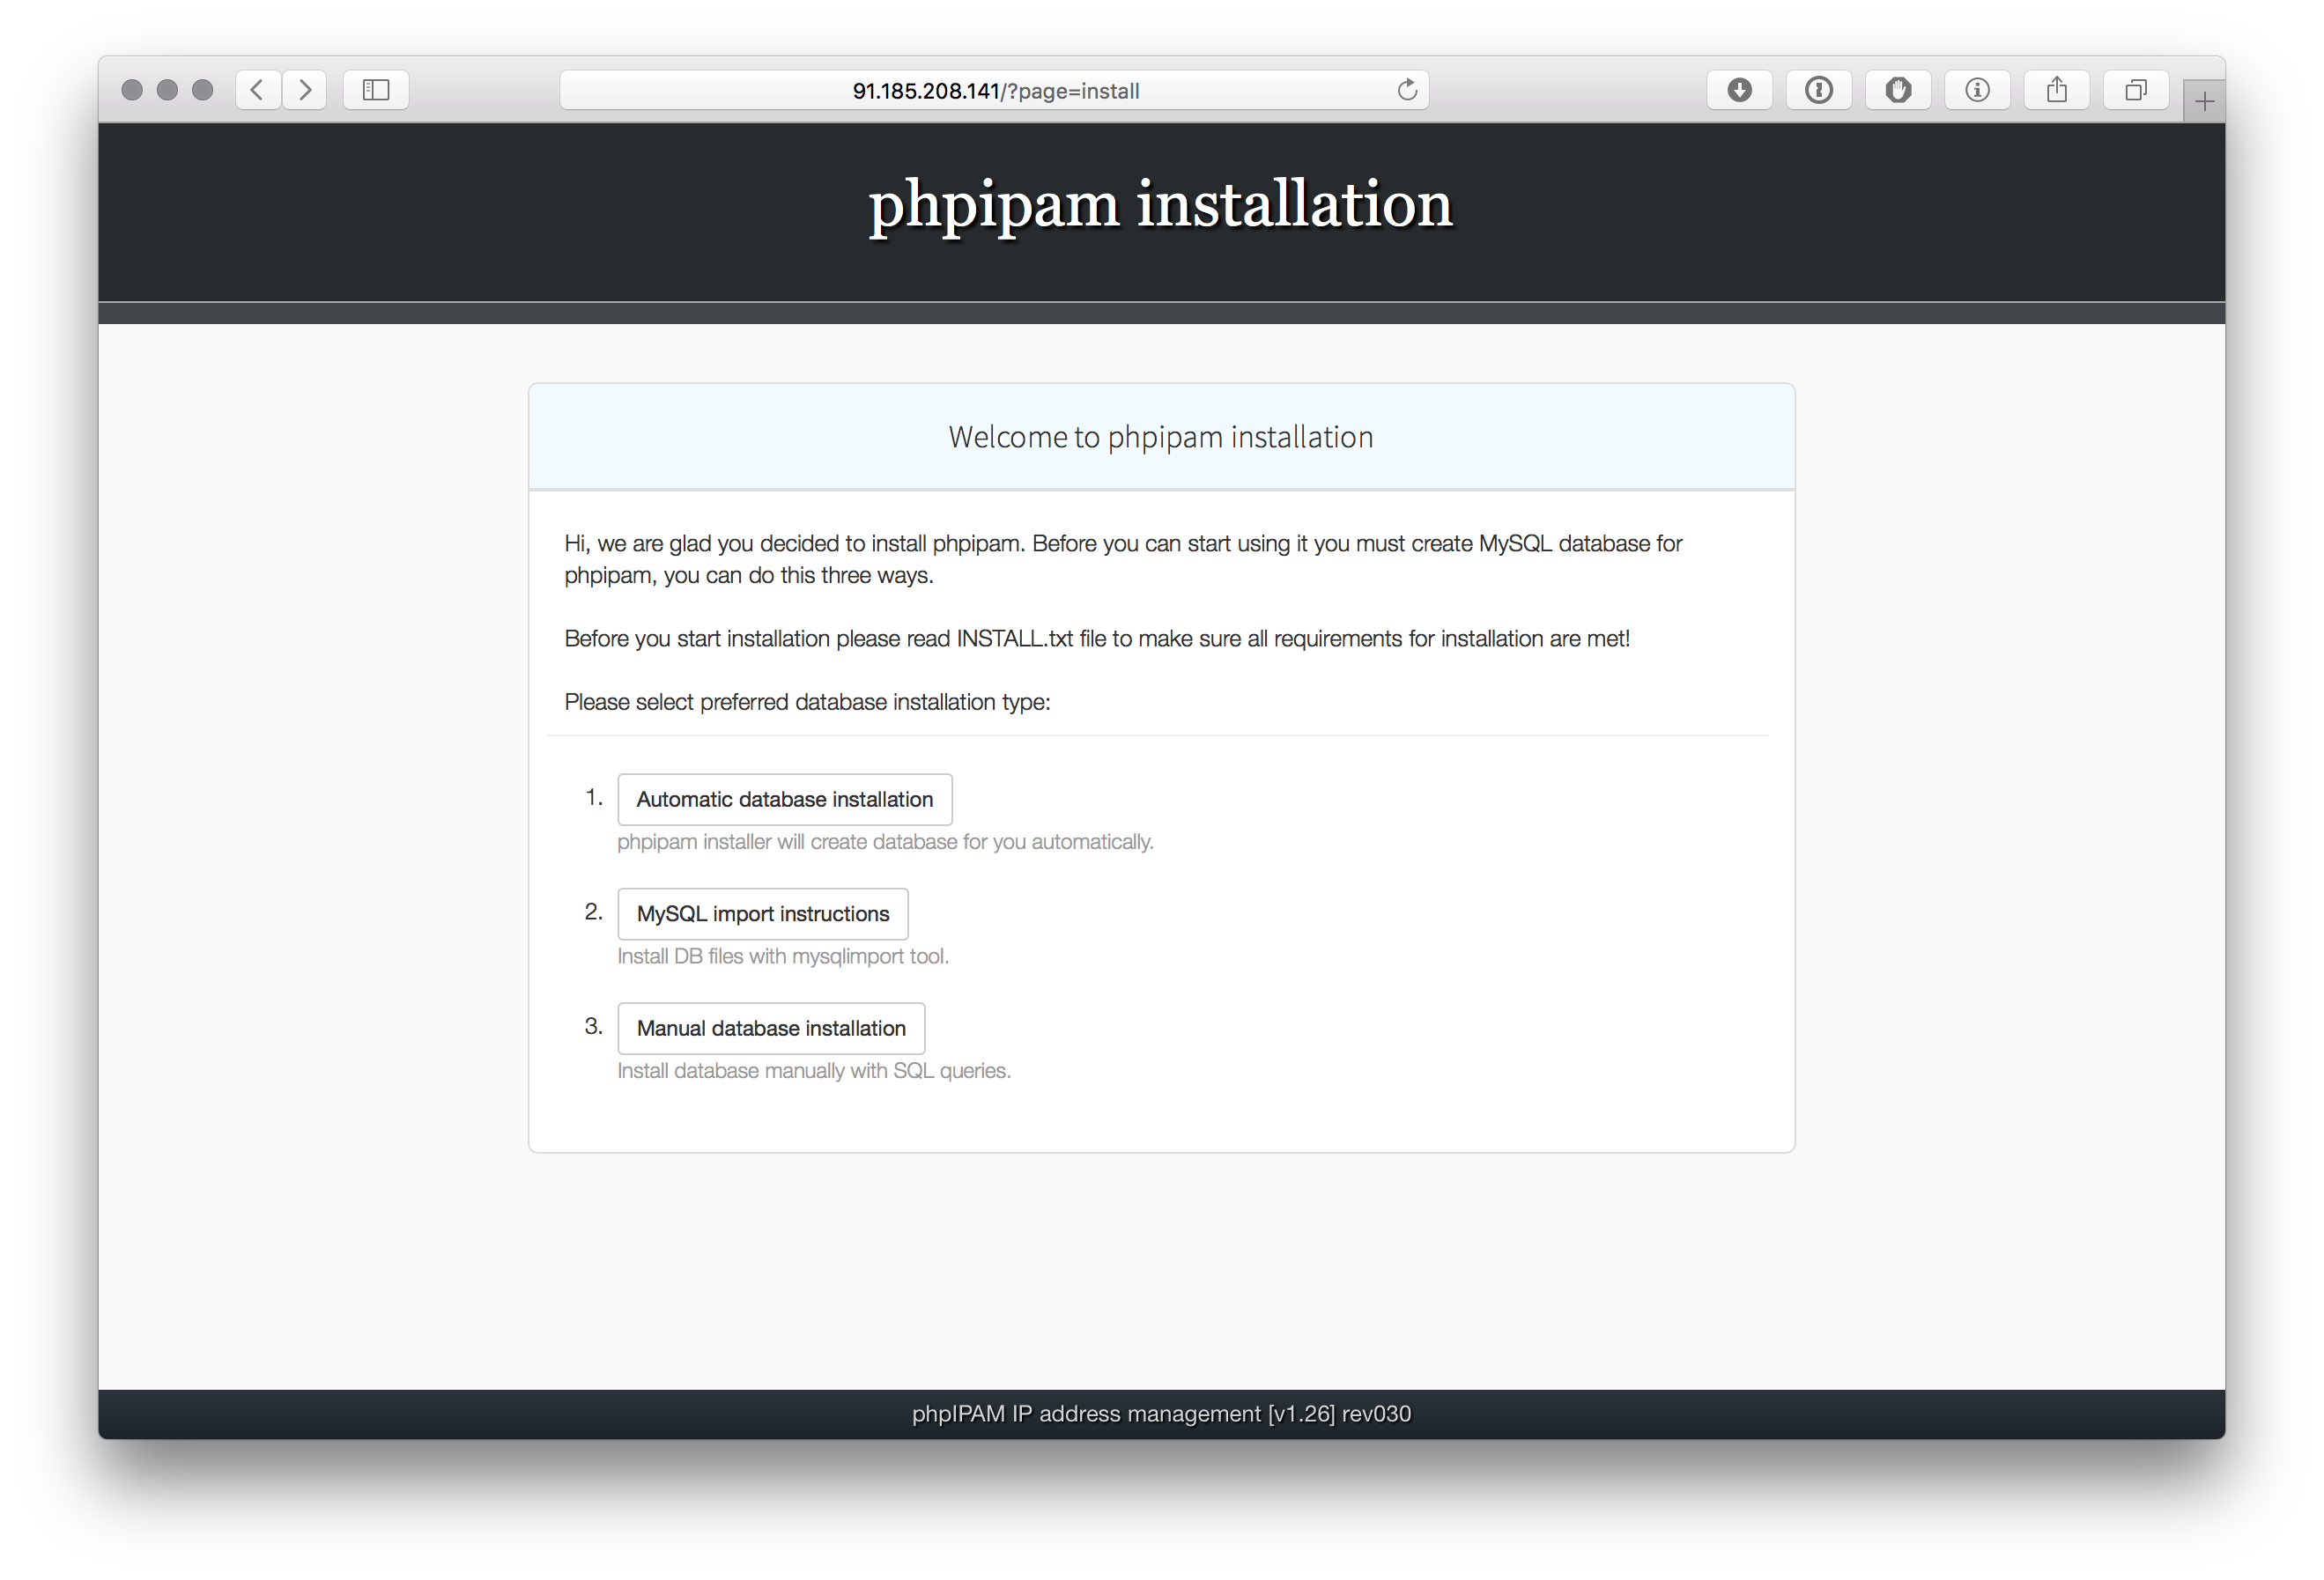
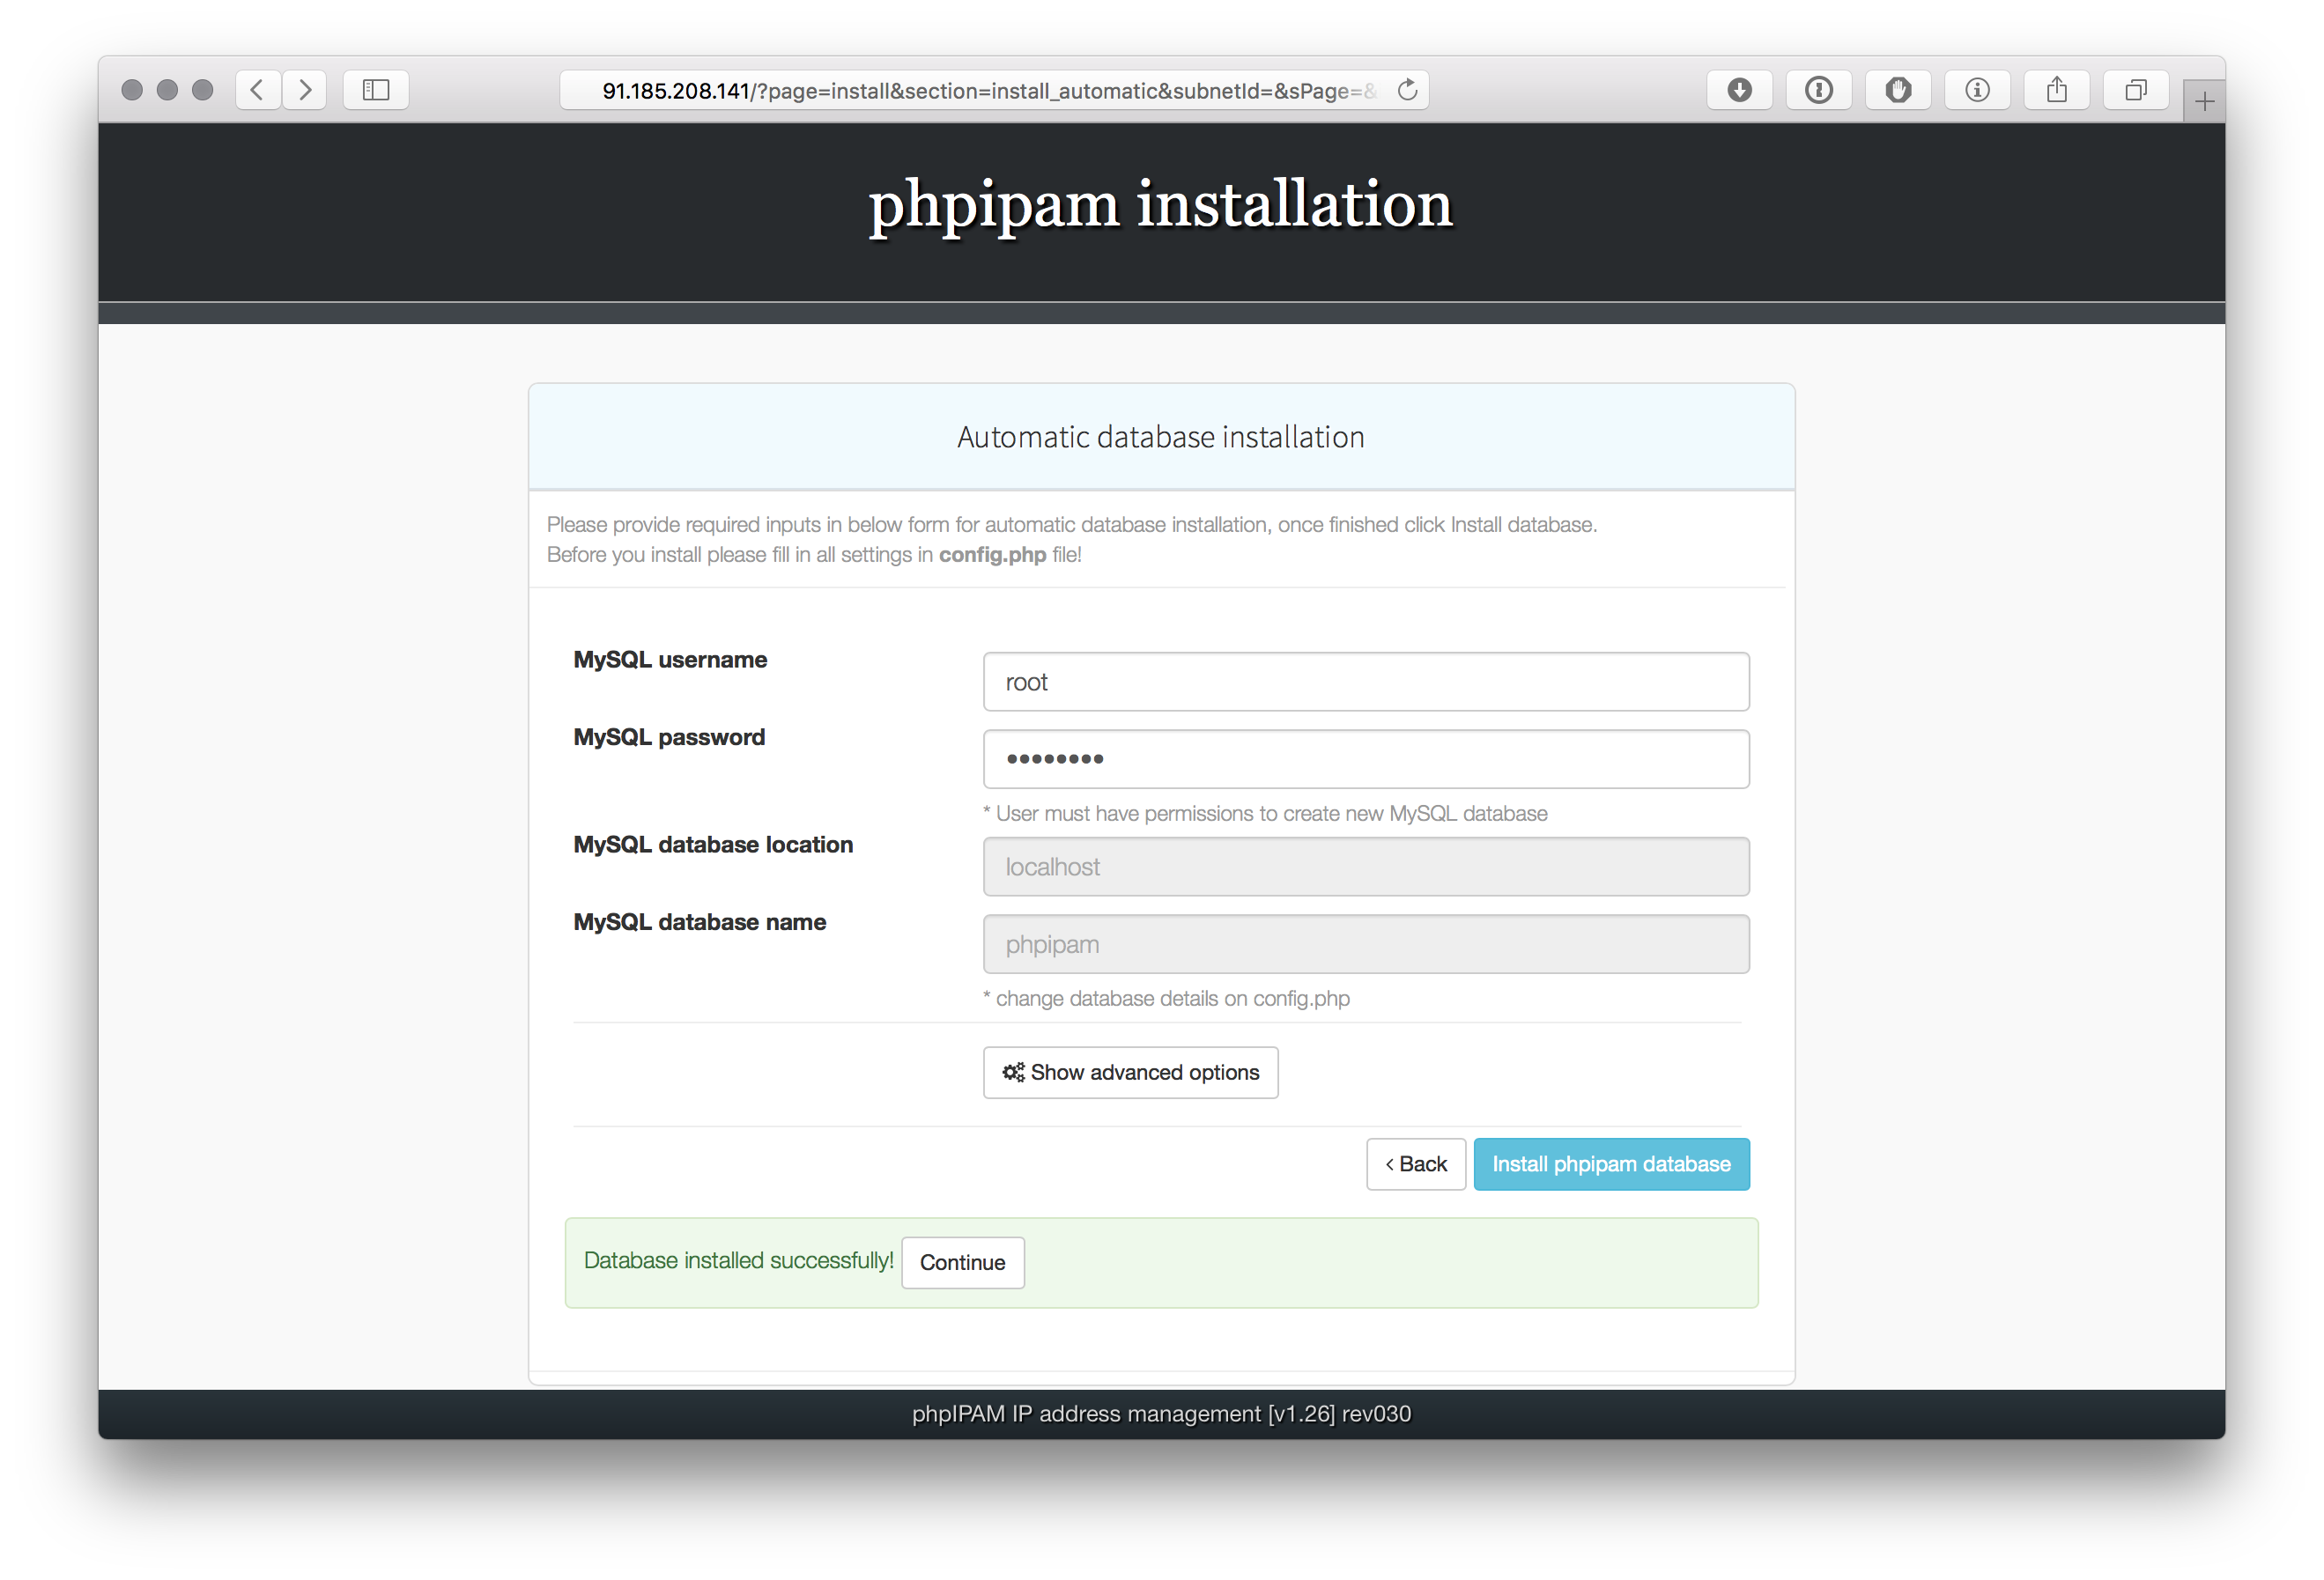
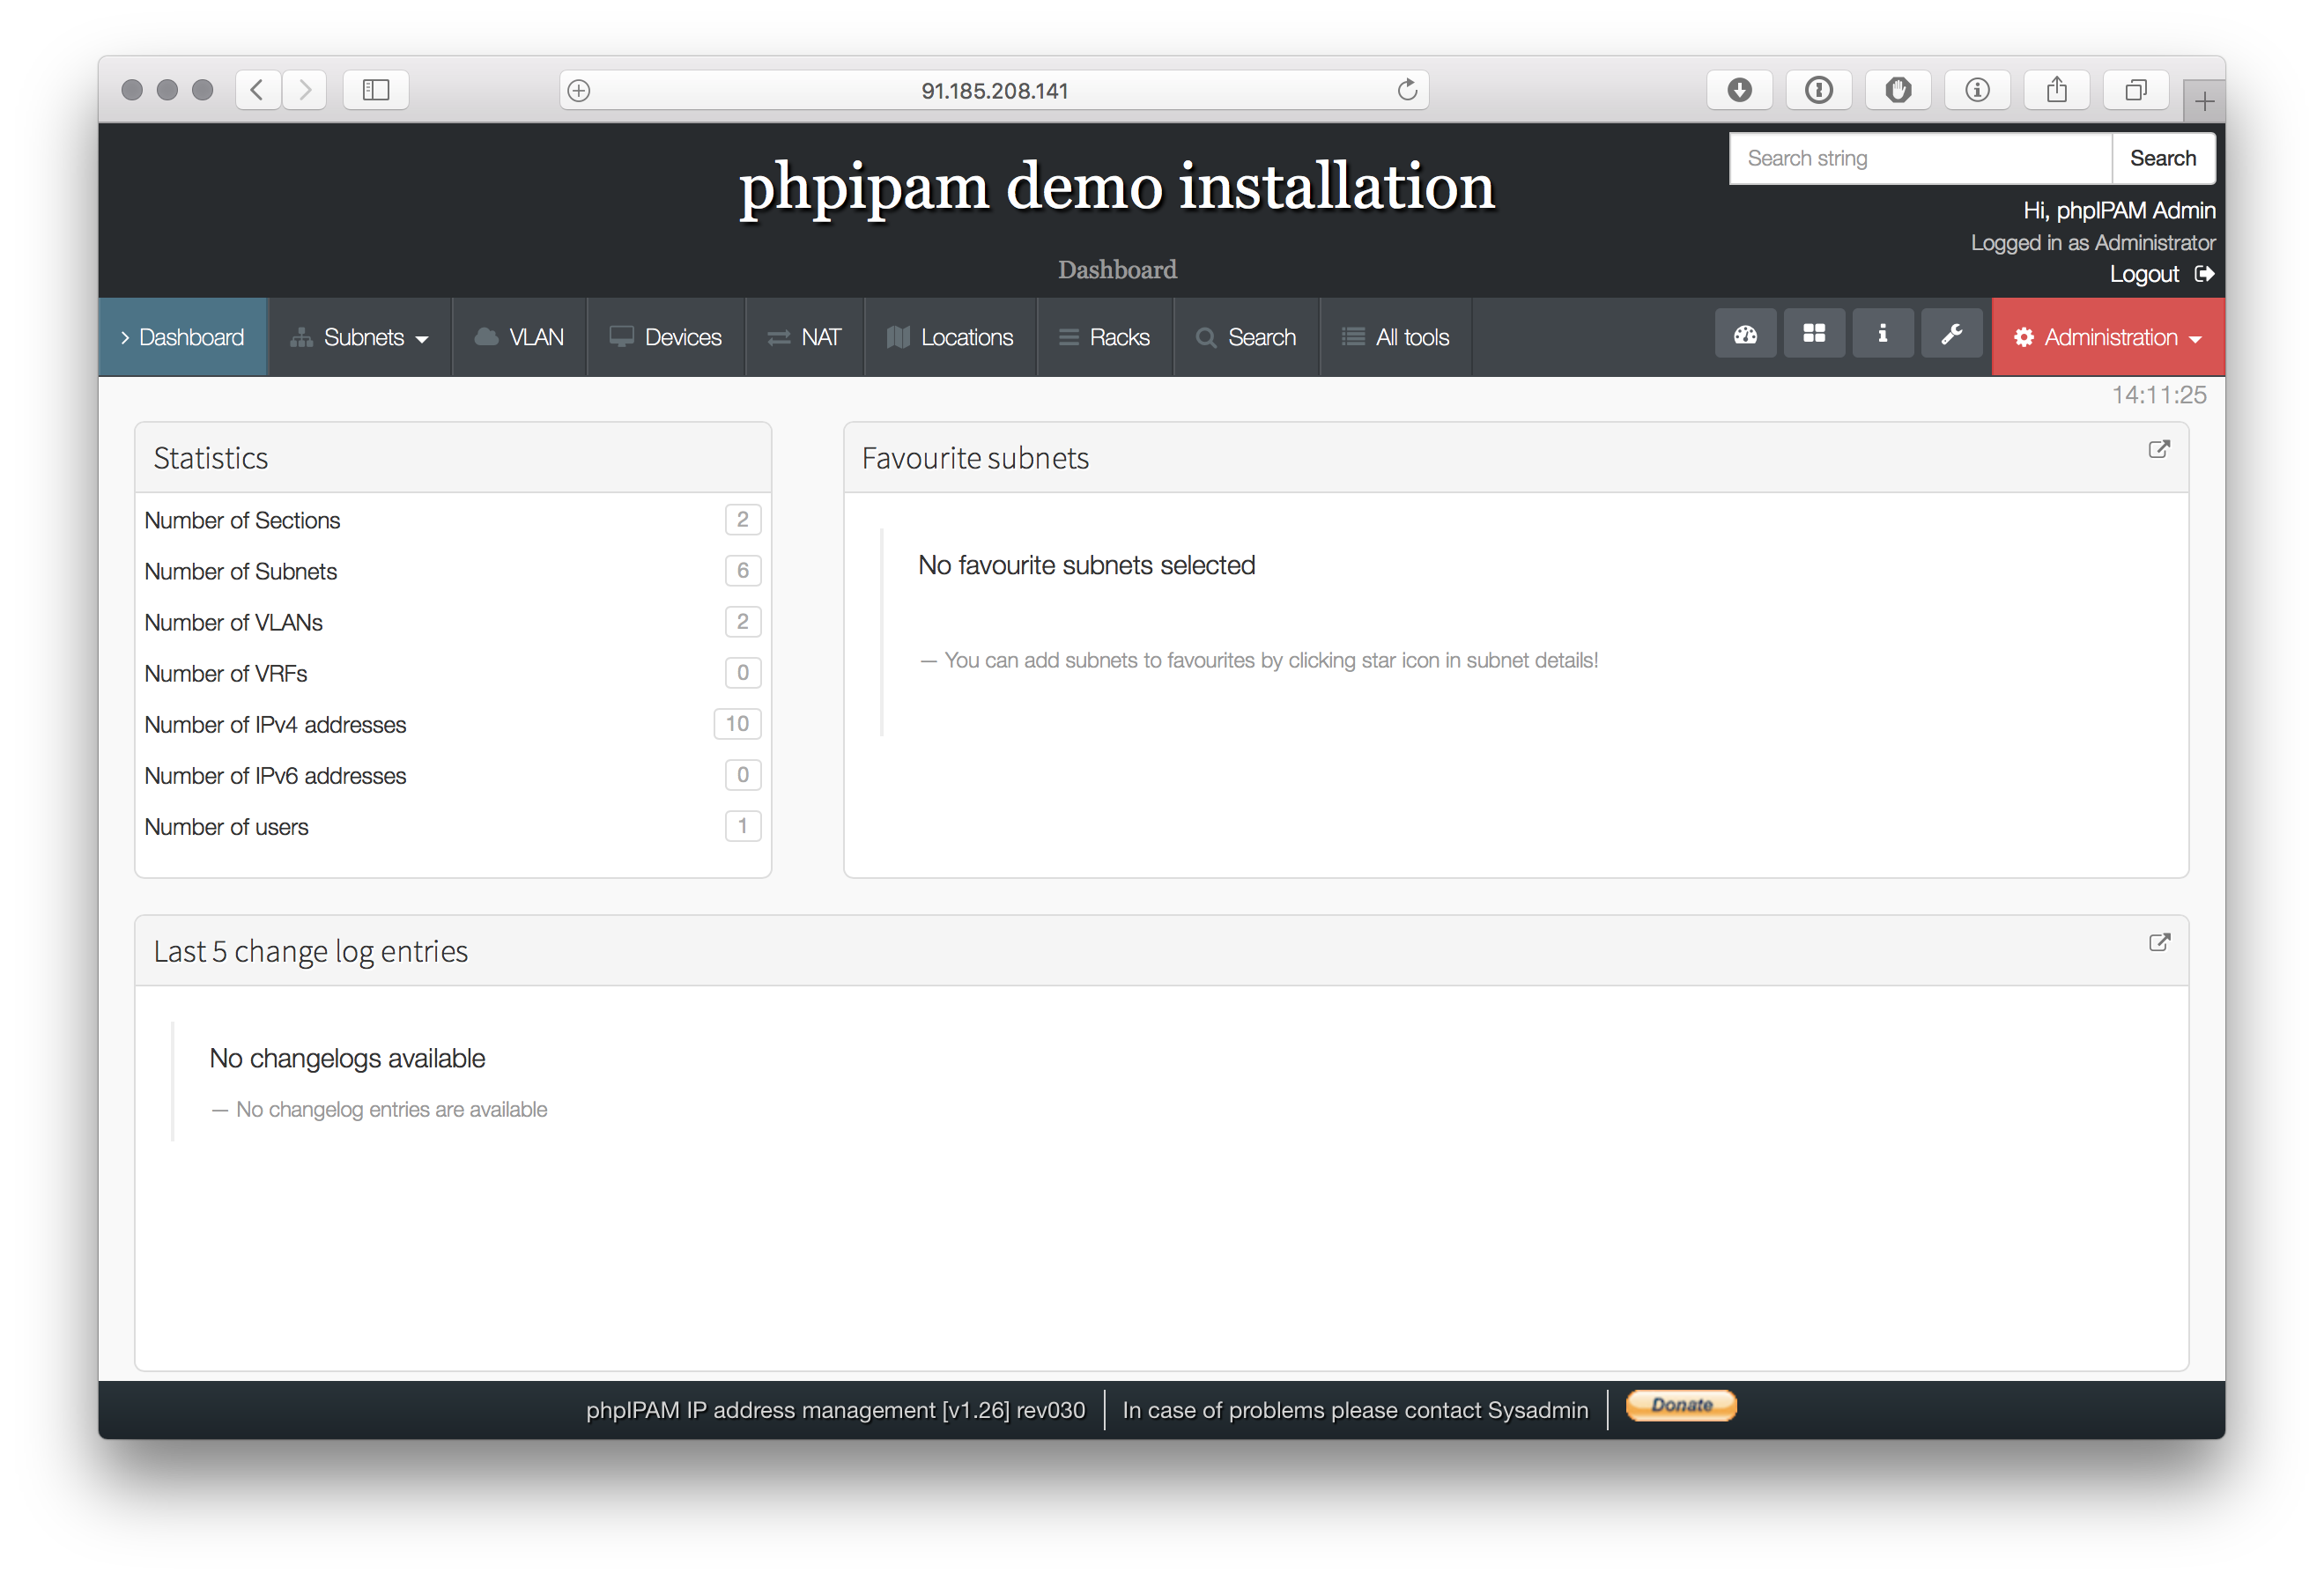
We are now ready to install phpipam. Open browser and go to http://ip_address/ to start with automatic database installation. For MySQL connection enter root username and password you created in point 1.4, this will only be used to create required databases, tables and grants. After installation is completed phpipam will used username/password entered in config.php file to access database, root password is not stored anywhere.
Here are screenshots of install process:

4.) phpipam upgrade
Upgrade process is simple if you are using git, please read this guide for full upgrade guide. In our case all we need to do is pull code updates from github and open browser to start upgrade:
[root@centos7 ~]# cd /var/www/html
[root@centos7 html]# git pull
5.) Enabling network scanning
To enable network scanning we have two options: disable SELinux or create policy for it. Creating SELinux policy is recommended, please read this topic. For now we will disable SELinux by entering setenforce 0 command:
[root@centos7 html]# getenforce
Enforcing
[root@centos7 html]# setenforce 0
[root@centos7 html]# getenforce
Permissive
This will enable icmp check from web, discovery etc. To scan networks simultaneously and periodically check address statuses please read this guide.
6.) Backup database via cron
It is recommended that you make daily backups of your database files via cron. For daily backups use following cronjob:
# Backup IP address table, remove backups older than 10 days
@daily /usr/bin/mysqldump -u ipv6 -pipv6admin phpipam > /var/www/html/db/bkp/phpipam_bkp_$(date +"\%y\%m\%d").db
@daily /usr/bin/find /var/www/html/db/bkp/ -ctime +10 -exec rm {} \;
This should be it.